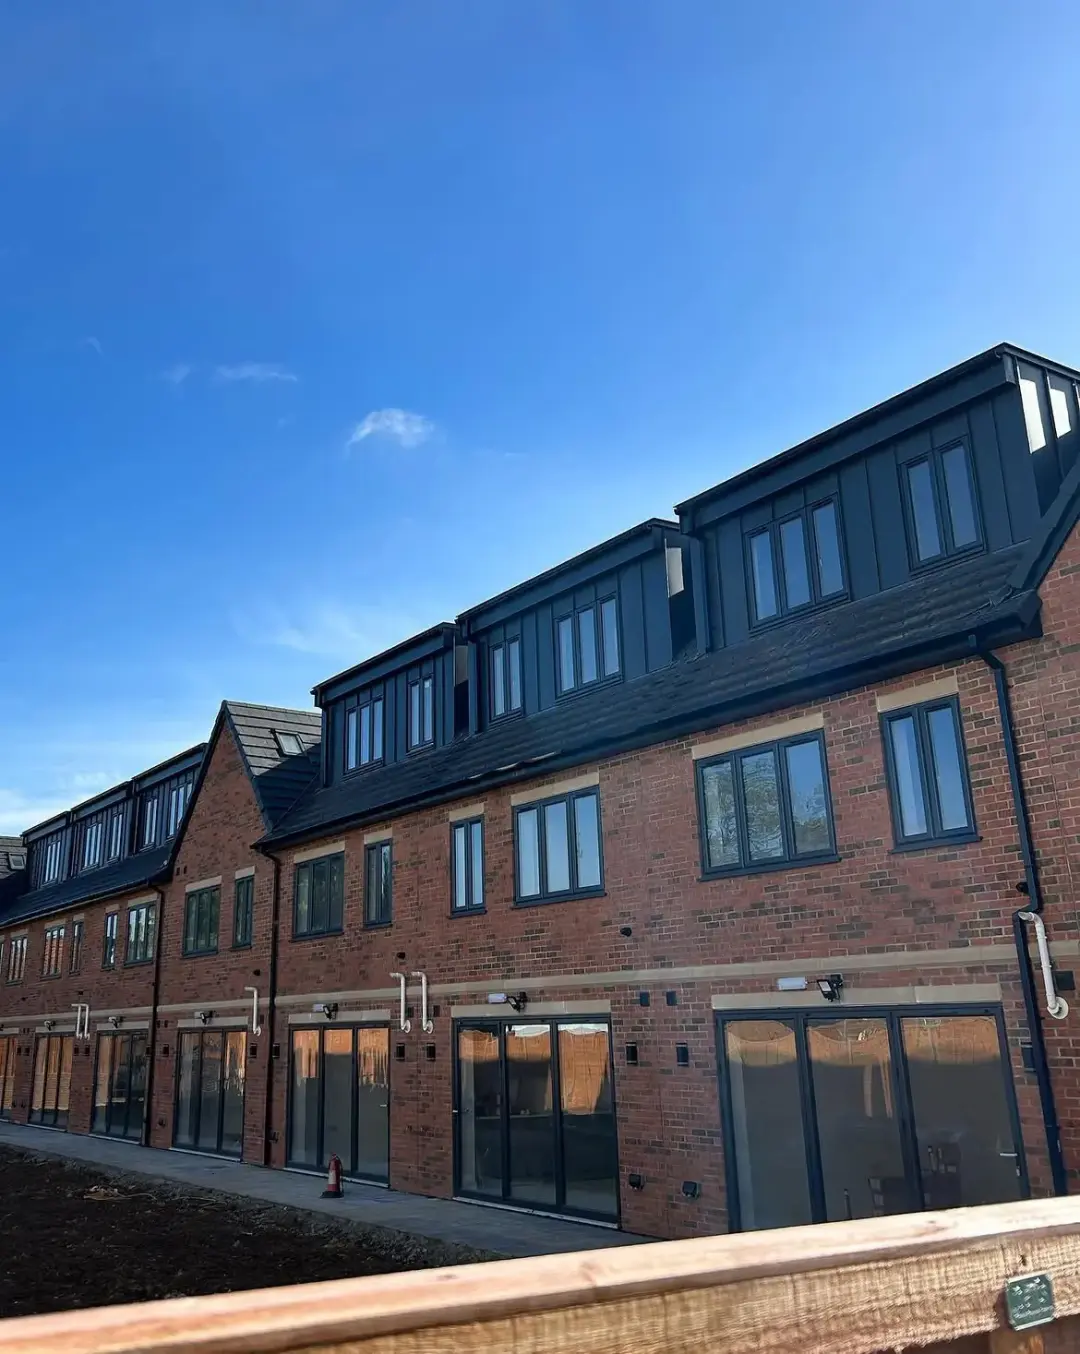
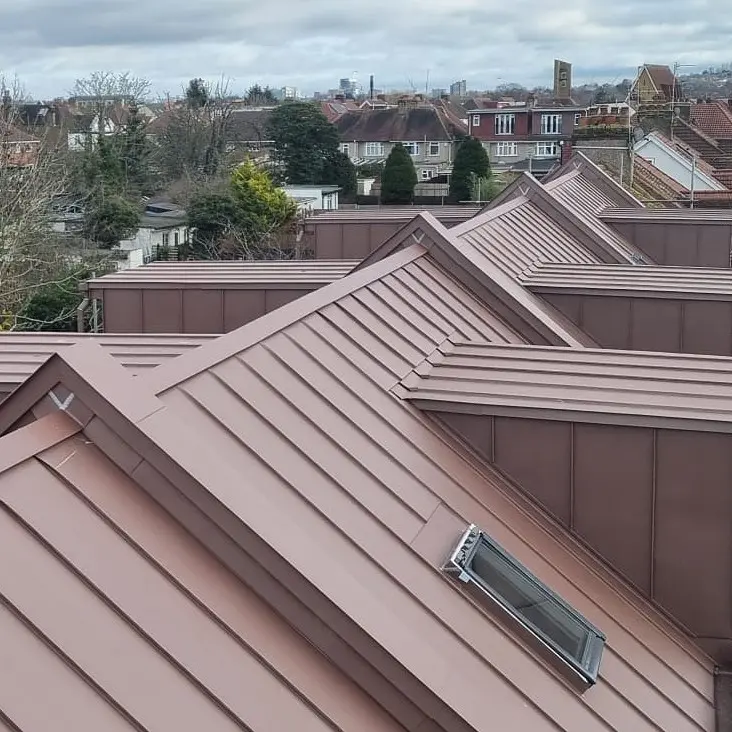
Wind uplift on metal roofs is the suction that tries to pull the covering away from the building. The strongest forces can occur at small edge and corner zones. A good installation quote explains how the panels, clips or screws, and the structure beneath them will resist those forces together.
Why corners need different fixings
Wind uplift on metal roofs varies across the same building. Air flowing over a roof edge can separate and create local suction. The panel in the middle of a roof may experience less suction than a similar panel close to the perimeter. A fixing schedule therefore needs to identify the areas it applies to. A note saying ‘fix in accordance with manufacturer instructions’ leaves an important question open if nobody has translated the design loads into a drawing the installer can use.
In one flat-roof example in the MCRMA wind-loading guide, peak local suction is 2.09 kN/m² in the perimeter zones and 0.86 kN/m² in the field. The example’s perimeter value is about 2.4 times its field value. These are worked-example loads. Your roof needs a calculation for its own geometry and location.
What the designer needs to measure
The calculation starts with the site and the building. The address helps establish wind exposure, while surrounding terrain, building height and the geometry of the roof shape how that wind translates into pressures. A postcode alone cannot describe the shelter around a rear extension in London or a taller building standing above adjoining roofs. Photographs are useful context, but the designer also needs accurate dimensions and sections.
Identify stepped roof levels, parapets, canopies and large doors or openings early. Air pressure inside a building can contribute to net uplift as well. This matters if a workshop has large doors, or if an extension is separated from the original house by a large opening while works are in progress. Ask whether the wind assessment covers the finished arrangement and any temporary conditions that affect the installation sequence.
Keep the calculation with the drawings even if the roof is small. If a future owner removes a sheltered parapet or adds an adjoining structure, the record gives their designer a starting point for assessing the change.
Follow the load path into the structure
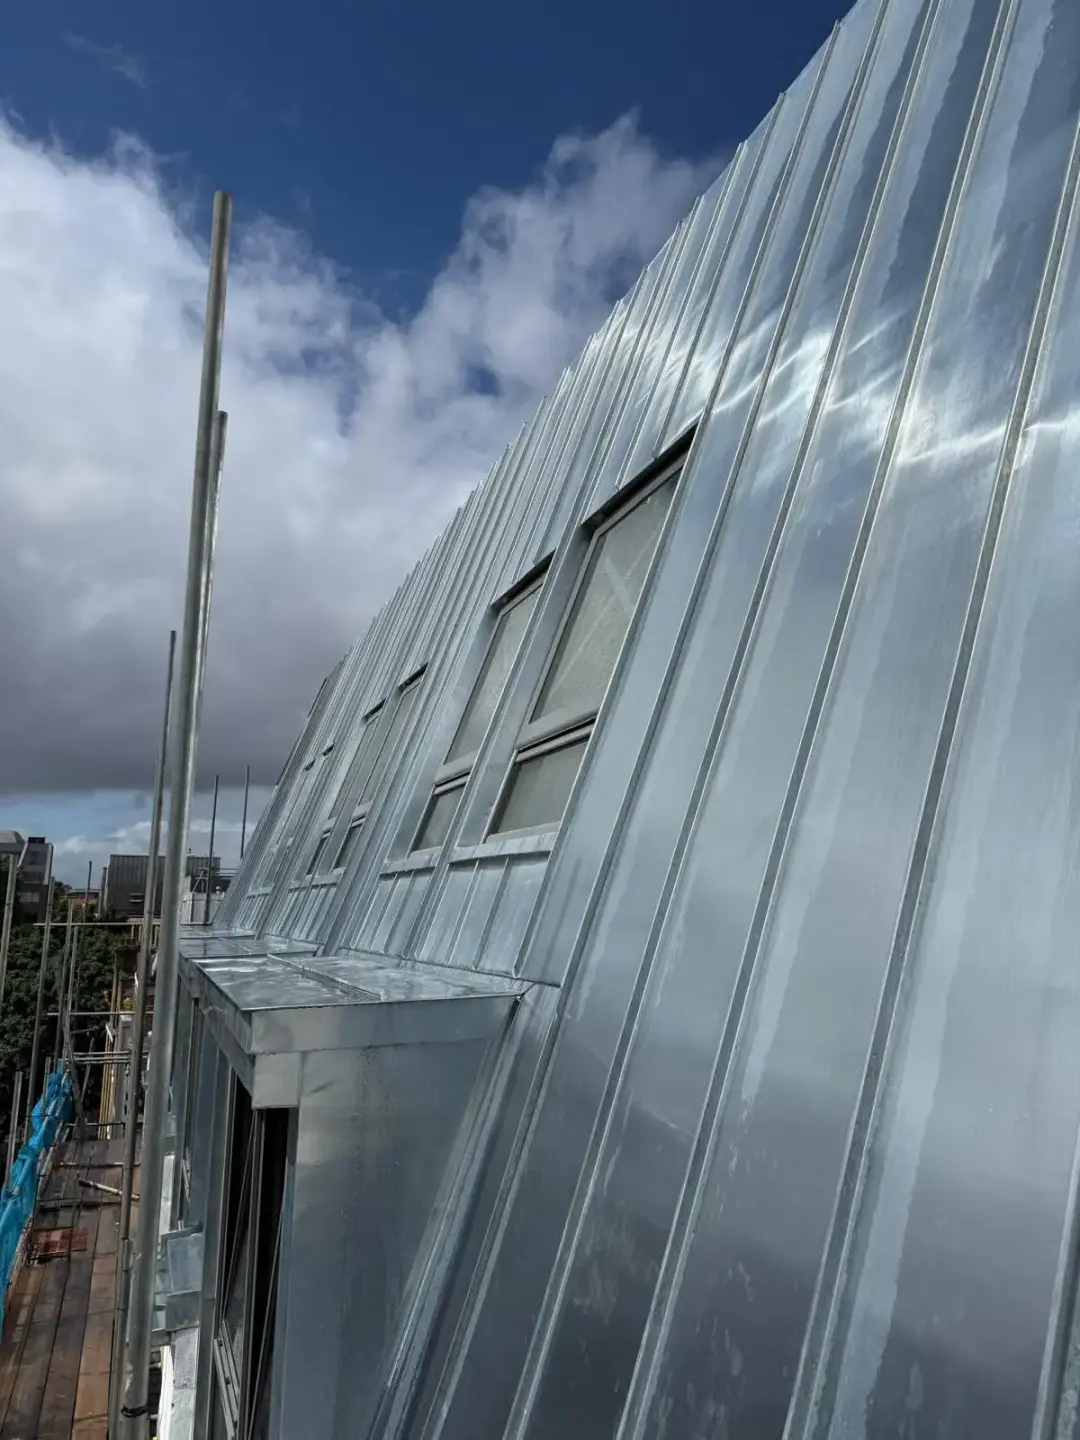
The panel has to transmit uplift through its connection to the support. On a standing seam roof, that may mean the formed seam, clip, clip fastener and deck or rail. A profiled sheet may use an exposed fastener through the sheet into a purlin. The designer must check the relevant connection and the supporting member, including how the member itself is attached to the building. Choosing a stronger screw does little if the deck underneath is the weak link.
For a refurbishment, establish the type, thickness and condition of the existing deck or purlin before finalising the fixing specification. If the support is concealed, agree who will inspect it when the old covering comes off and who will approve substitutions. Knowing what your quotation assumes about the existing substrate makes it easier to compare offers and deal with a discovery on site.
What to check
- Ask for the fixing plan to show the boundaries of each roof zone.
- Confirm what each clip or screw will anchor into.
- Agree who checks design changes after the existing roof is opened.
How wind design affects the panel layout
A higher design load can change the clip spacing, sheet profile, support spacing or edge detail. A long standing seam tray may also need sliding clips to accommodate thermal movement. The load and movement requirements have to work together, including where a tray is fixed against longitudinal movement. Adding restraints on site without checking the system can transfer stresses to folds and end details.
Ask to see the planned seam or sheet arrangement around a rooflight, verge or change of slope. The locations of structural supports, trims and penetrations should be coordinated on the drawing before panels are fabricated. If the layout changes to avoid a clash, ask who will check whether the revised detail still meets the loading requirements.
What to ask for before work begins
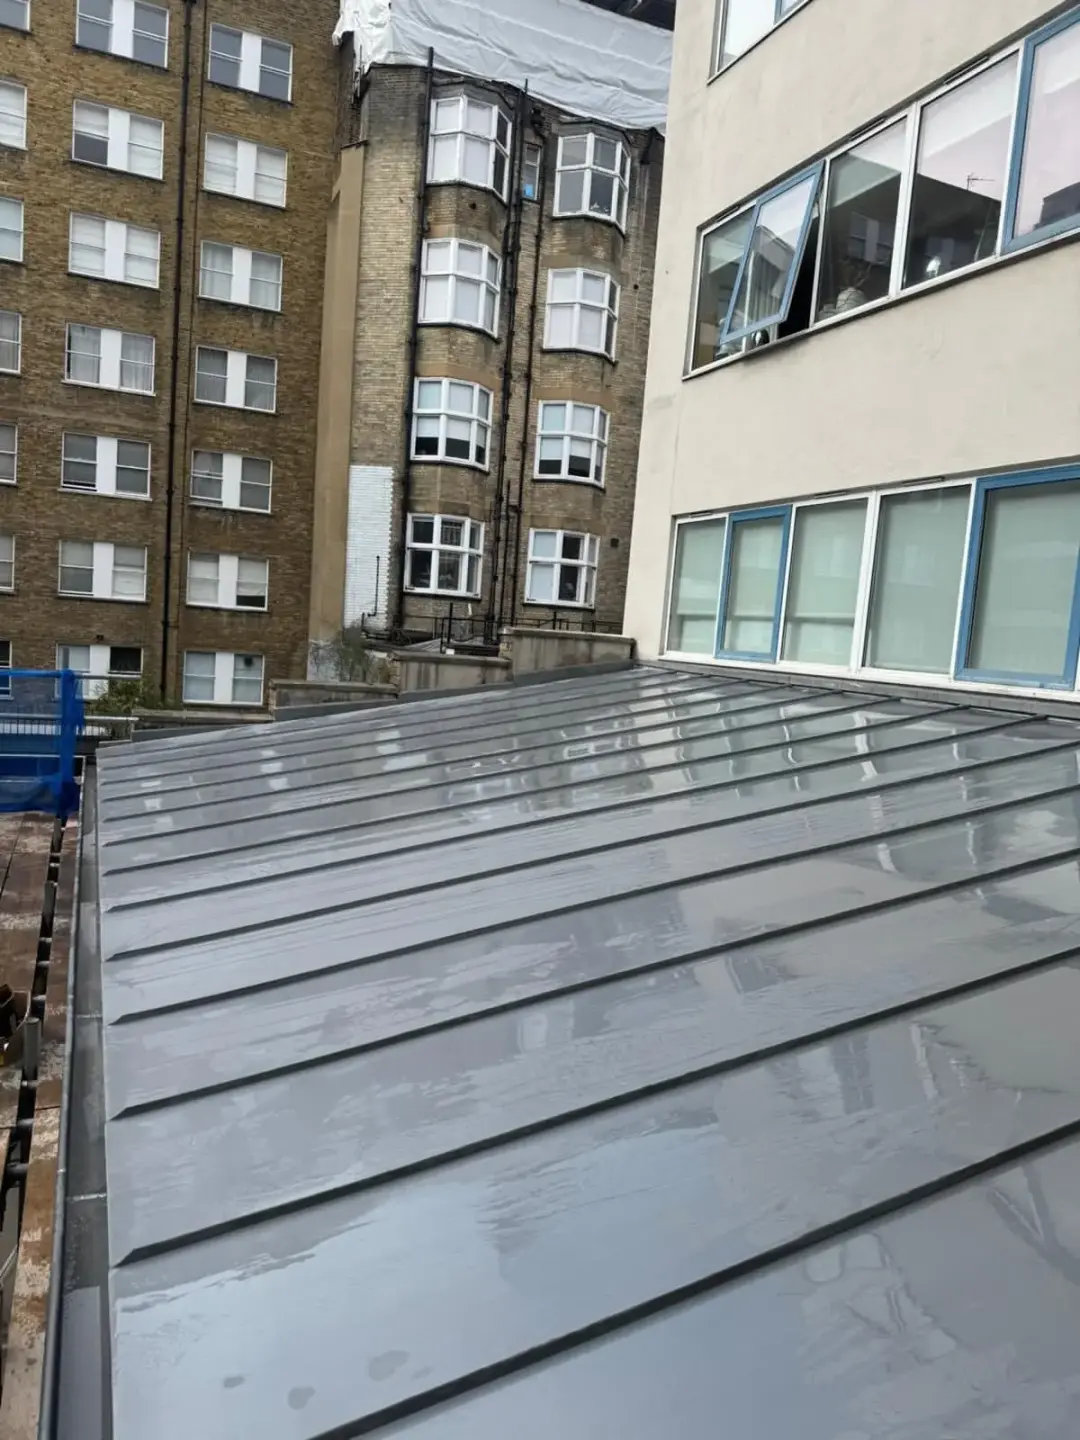
Ask for the fixing specification to identify the exact system, where each fixing pattern applies and what it is fastened into. The wind-load zones should be clear enough for someone on site to locate their boundaries. The quotation should explain who provides the design, who verifies the existing supporting structure and what happens if the specified fastener or panel becomes unavailable before installation.
Ask which elements will be photographed before they are covered. Useful records show the first installed panels, representative edge-zone fixings and any details that changed after opening up. If a variation moves a seam or changes a fastener, retain the approved drawing or written instruction alongside those photos. That handover record can help a future contractor plan alterations without having to guess how the roof was built.
If a roof is quoted before it can be opened up, ask for a separately identified allowance for unsuitable decking. Agree how the cost and programme will be reviewed if the allowance turns out to be needed.
Summary
Before accepting an installation quote, match the panel and fixing schedule to your building’s wind zones and confirm how the load reaches the structure. Ask the installer to identify any assumptions that need checking on site.